
July 21,2026

Keyboard Cleaning Guide: From Daily Maintenance to Deep Disassembly and Cleaning, All in One Guide


Cleaning a laptop keyboard requires some finesse due to its intricate structure. I've compiled a step-by-step guide from basic to thorough methods, allowing you to choose based on the level of dirt:


Three-Step Daily Cleaning Routine (Suitable for Light Dust and Surface Stains)
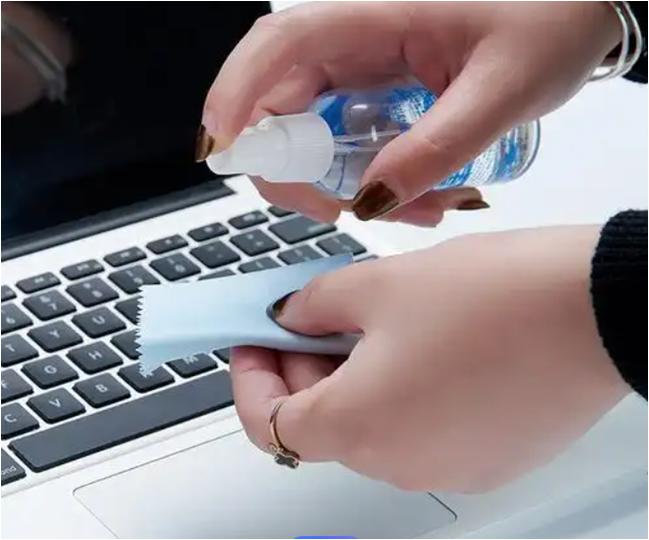
Let's start with the universal rule: Always power off or lock the screen before cleaning to prevent accidental touches. Cleaning solution must be sprayed onto a cloth, never directly onto the keyboard.

Step 1: Invert and gently tap to remove large particles
Close the notebook, gently invert and shake it to allow larger debris like crumbs and hair to fall out.

2. Step 2: Clean the gaps and blow away deep-seated dust
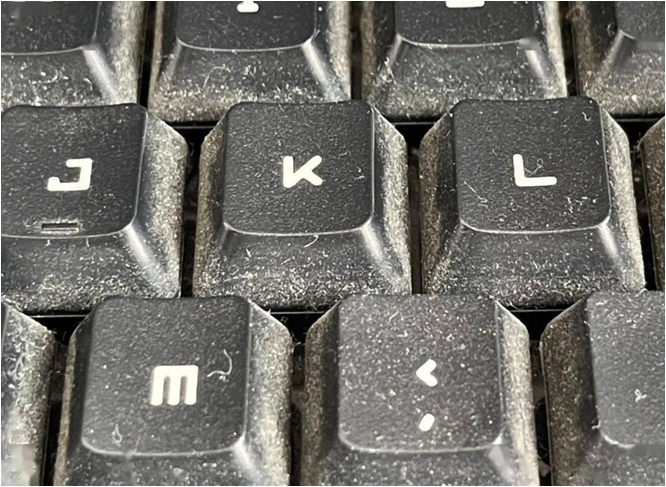
Conventional tools: Use a soft brush (an old toothbrush will suffice) or compressed air to clean along the keyboard gaps.

Advanced Cleaning Tools: For persistent dust, use a canister of compressed air, maintaining a half-inch distance, and sweep from left to right. For MacBook's butterfly keyboard, Apple recommends tilting the device at a 75-degree angle before blowing.

3. Step Three: Wipe the surface to remove oil stains and fingerprints
Dip a slightly damp soft cloth (a microfiber cloth works well) in a small amount of 70% isopropyl alcohol or specialized cleaning solution, and wipe each keycap surface one by one. This effectively kills bacteria and removes oil. Avoid wiping an entire row at once to prevent the cloth from getting stuck under the keycap edges.
Deep cleaning (suitable for keycap crevices and sticky keys)


Deep cleaning (suitable for keycap crevices and sticky keys)


If the surface is wiped clean and the gaps are still unsightly, then the keycaps need to be removed.

·The core idea of removing keycaps: Notebook keyboards generally use a "scissor foot" structure (X architecture), and the keycaps are snap on. Use a fingernail or plastic pry to hold the top or side of the keycap, gently lift it upwards, and with a "click" sound, it can be removed. Vigorousness cannot produce miracles, only tragedies.
·Cleaning keycaps: The removed keycaps (excluding brackets) can be washed directly with warm water and dishwashing detergent, and then air dried.
·Cleaning the base: The gaps in the base can only be cleaned with a brush, leather blow, or compressed air dry brush, and must not be touched with water or cleaning agents.
·Installation and restoration: Align the position, gently press down, and hear a "click" sound to install it.

⚠ Important Notice
·Take a photo first: Before removing the keycaps, be sure to take a full picture of the keyboard to prevent incorrect positioning.
·Caution in operation: Do not wash keycaps with brackets together in water to avoid losing or mixing up the small brackets. Assembling them together tests patience. If you feel that your hands are not stable enough, it is recommended to only do surface cleaning.
·Prevention in advance: Try to avoid eating and drinking in front of the computer, or use keyboard film to physically isolate dust and liquids, which is the best way to keep the keyboard clean.

A worry free tool: Lenovo Quick Clean
If you are using a ThinkPad, you can try Lenovo's official Lenovo Quick Clean software. It can lock the keyboard and touchpad with one click, allowing you to confidently wipe the surface with a cloth without worrying about accidental touch. When the time is up or by pressing a shortcut key, you can unlock it.
If the keyboard gets wet, please immediately unplug the power, turn off the computer, invert the computer to absorb moisture, and send it for repair as soon as possible. The damage of liquid to the motherboard is irreversible.

If the keyboard is broken, you can visit our website to check the model and make a purchase. https://www.laptop-parts.com/

Notice